Symptom:
Tinny metal on metal vibration noise in the rear of the drivetrain near the differential. Only when moving, but doesn’t change directly correlating to speed. The car in question had a 99 manual diff in it.
More Info:
So we had blown out the tranny in our turbo Miata at the last autocross, just swapped a new (used) tranny in (thanks Mazmart!) and took a test drive, and lo and behold the tranny felt good, but I had some new drivetrain noise as well. A metal on metal sounding vibration that only happened when moving but didn’t seem to change with speed. It did sometimes clang a bit louder on initial acceleration. So I put the car up on the lift, in 2nd gear and let it idle in gear spinning the drivetrain/tires slowly and got under it, it’s definitely coming from the rear– stethoscope shows there’s no noise in the tranny or diff itself, but right up front of the diff something is rattling. Stop the engine and move around the clover shaped metal weight on the nose of the diff– I don’t recall it moving so easily before. Sure enough the movement and rattling of this clover against the diff housing sounds alot like the sound I’m hearing at speed. A closer look shows there’s a rubber ring that retains this weight to the shaft and that’s deteriorated so the weight is loose. A call to Ben at Mazmart confirms “yeah that happens on hard driven cars sometimes, the automatic diff’s don’t have those weights at all, you might be able to remove it.” We discuss removing it versus welding it to the front plate, I decided if the auto doesn’t have it, I may as well remove it, and here I go…
Process I took:
- Remove exhaust to make room.
- Remove the driveshaft.
- Put the E-brake on all the way.
- Put something under the diff to catch a little bit of fluid. Use an impact to remove the 26mm nut holding retaining that entire input shaft assembly to the diff. It should then pull right out.
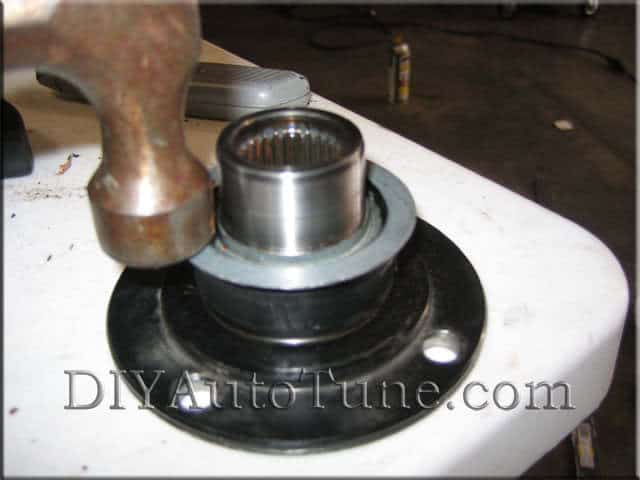
- The clover will not come off the back yet, there is a retaining ring that needs to be removed. Use a two jaw puller on the clover itself and the retaining ring will come off with it. Use a little of your favorite spray lube to help ease things up a bit if you want. PB Blaster and a 2 jaw puller made this easy.
- Pull the clover off. Shave the remaining torn up rubber retaining ring off the input shaft with a brand new blade in a razor knife. You won’t get 100% of it this way, there’s a metal band in it. Just get it nice and smooth and round as best as possible. If you want to get it all you could probably use a torch and burn it all off, but I didn’t bother with that.
- Reinstall the retaining ring you removed earlier. Use a large socket or something similar and a hammer and tap it in place. Not sure if this needs to be there or not but it looks as it could serve as a dust shield for the seal on the diff.
- Reinstall the assembly into the diff. Use the washer and the nut and torque to 95-209 ft/lbs. (Yes the FSM gives that big of a range, I just used my impact and called it a day to be honest.)
- Reinstall driveshaft and then exhaust.
As of yet I’ve noticed no negatives to this at all, the terrible metal-on-metal vibrating/rubbing noise I had before is gone, and the car is running great. As a side benefit, there is 1.75 less pounds of weight in the drivetrain!
Pics below, in order, covering most of the process.
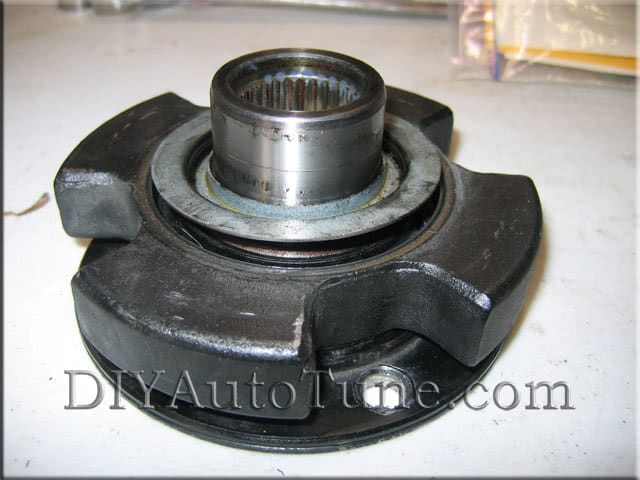
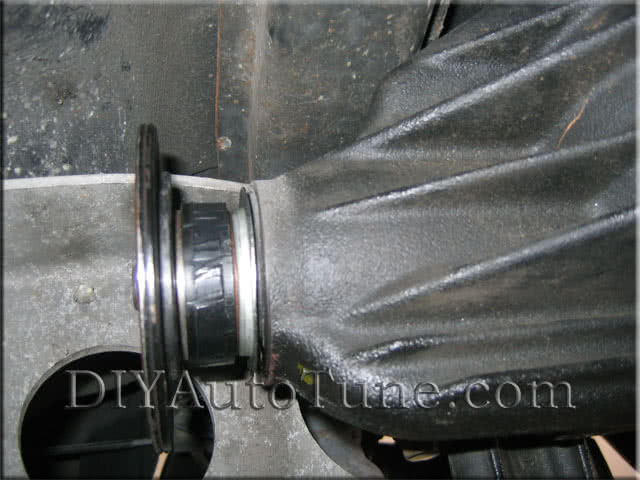
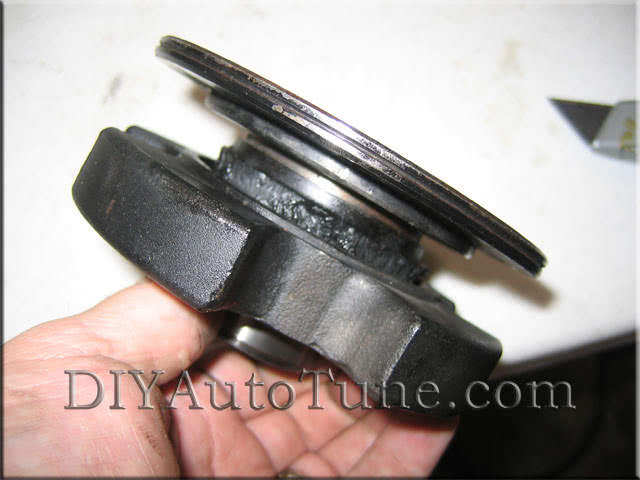
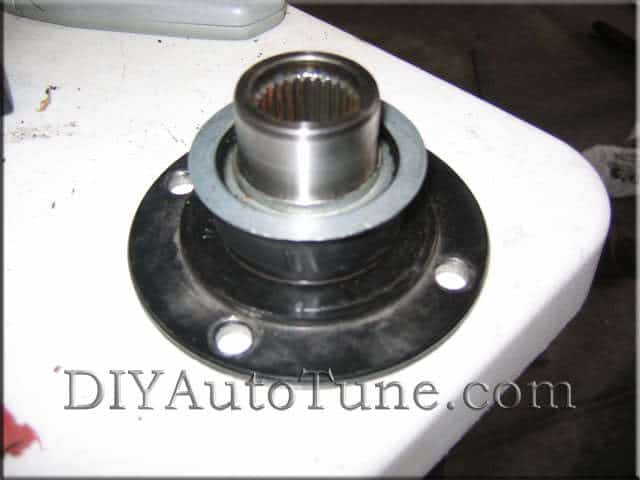
Assembly removed from diff
Here you can see the chewed up rubber that used to hold the clover to the input shaft of the diff. Not any more.
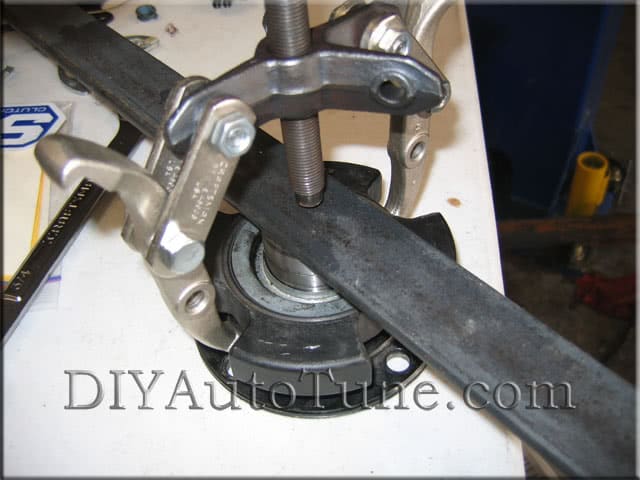
2 jaw puller makes easy work of removing the retaining ring and clover.
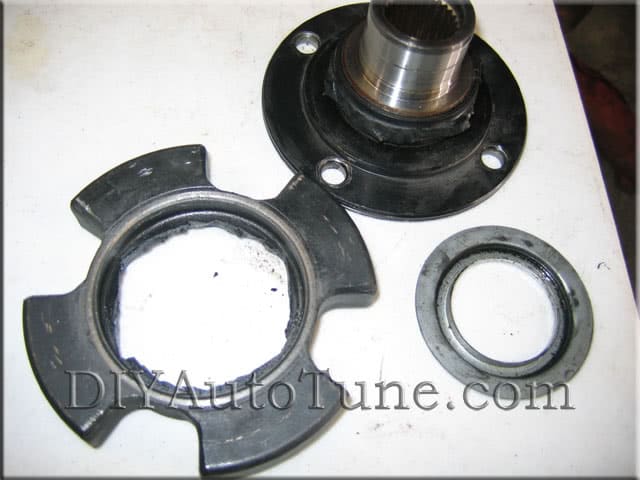
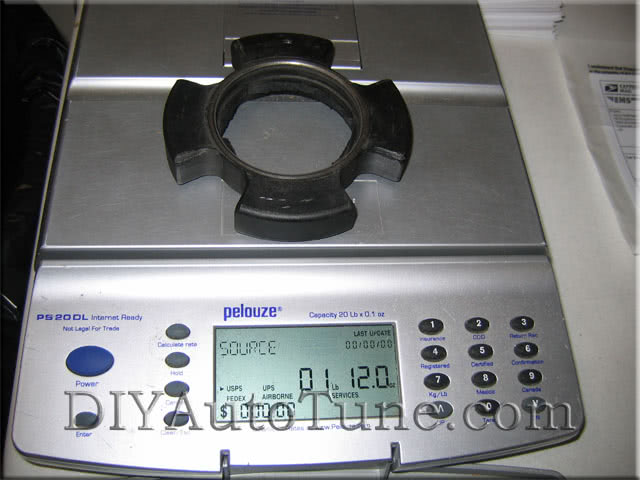
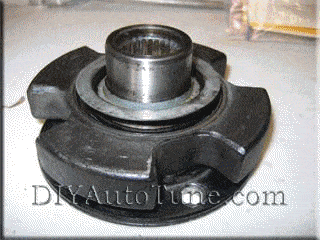
All three pieces once separated.
Trimmed the rubber down. Ready to reinstall dust cover/retaining ring. (not sure if this is really needed, but it doesn’t hurt)
Gently tapping all around the retaining ring to secure it all the way down. Don’t scratch the sealing surface of the input shaft where the oil seal rides once it’s seated back in the diff.
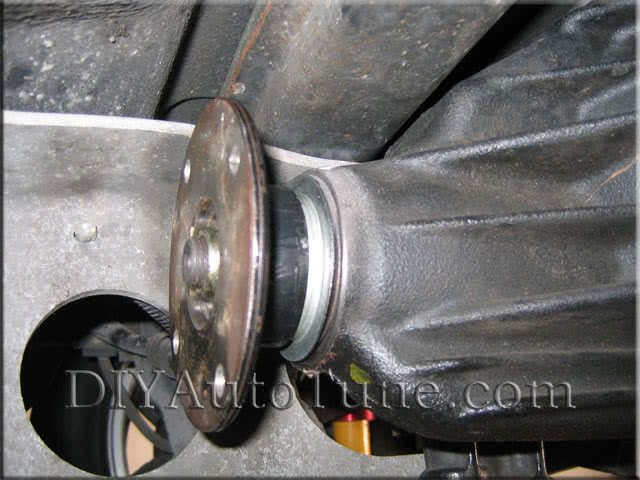
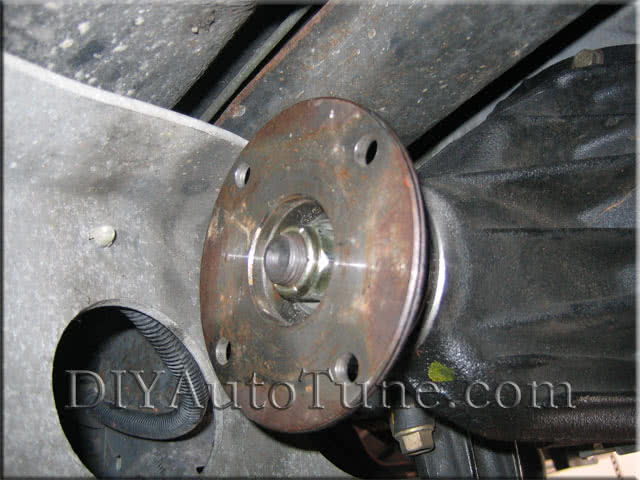
Assembled inserted back into the diff and torqued down.